[lwptoc]
Understand the basics of CNC machines
CNC machines – Computer Numerical Control machines – are increasingly becoming a part of the manufacturing process. A CNC machine is a tool that allows you to control a cutting tool with computer commands rather than manually controlling each movement of the cutting tool. This allows for greater precision and accuracy, as well as improving efficiency in the manufacturing process.
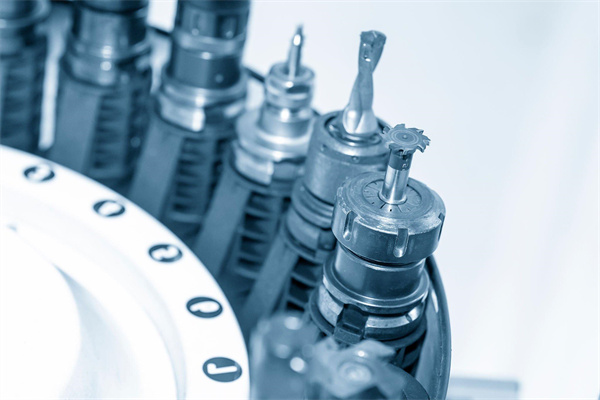
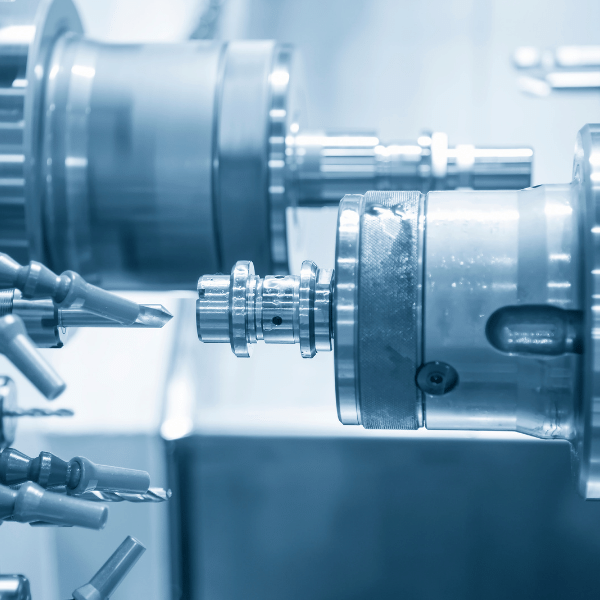
But what do you need to know to run a CNC machine? First, let’s go over the basics of how these machines work. A CNC machine consists of three major parts: the controller, the spindle motor, and the cutting table. The controller is responsible for sending instructions from the computer to the other two components, telling them exactly what kind of cuts need to be made and how deep they should be. According to these instructions, the spindle motor moves the cutting table up and down. Finally, the cutting table includes various tools, such as drills or cutters, that perform the actual cutting on materials like metals or plastics.
Now that you understand CNC machines, it’s time to learn how to run one. Before you start, ensure you have all your safety equipment ready – goggles and dust masks are essential when using power tools like drills and cutters. Once you’re all geared up, follow these steps:
1) Program the machine with instructions from your computer – this will include parameters such as feed rate (the speed at which material is moved into contact with a cutting tool), depth per pass (depth of each cut), and finish (level of detail required for the final product).
2) Load your material onto the cutting table – ensure it’s secure before you begin operating!
3) Put on your safety gear and turn on your machine. Ensure everything runs smoothly before starting by checking for potential hazards or loose parts.
4) Begin making cuts according to your programmed parameters. You can adjust any parameter while cutting by using knowledge, bs on your controller or by entering numbers into its display panel directly.
5) When finished, turn off your machine and remove all your materials from its surface area before cleaning up any debris. Remember not to leave any sharp objects inside your workspace!
By following these steps and exercising caution when operating power tools like drills or cutters within your workspace, you can safely use a CNC machine without issue! If ever unsure about their operation or maintenance, consult an expert on CNC machinery so that you can continue working safely and efficiently.
Choose the right software for your project.
Choosing the right software for any project is essential to project management. The right software can make or break a project, and selecting the wrong one can be disastrous. This blog post will discuss the importance of choosing the right software for tasks and how to run a CNC machine.
CNC stands for Computer Numerical Control and is a computer-aided design (CAD) technology used in manufacturing. With CNC machines, pre-programmed instructions are sent to the machine to produce precise cuts and shapes with precision and accuracy. It is widely used in various industries, such as automotive, aerospace, construction, energy production, and medical device manufacturing. This technology helps to reduce costs while providing better control over manufacturing processes than traditional methods.
The first step in running a CNC machine is to choose the right software for your project. Several types of CNC software are available on the market, depending on your need. Some standard options include CAM (Computer Aided Manufacturing), CAD (Computer Aided Design), and G-Code programs like Mach3 or GRBL Control Software. Depending on your specific application needs, you may also want to explore specialized software like AutoCAD or Solid Works, which offer more advanced features but come with a higher price tag too.
Once you have chosen the appropriate software for your project, it’s time to set up your CNC machine and prepare it for operation. This includes installing drivers, calibrating axis positions, setting work offsets, and configuring additional hardware, such as spindle speeders or dust collection systems. After all, these settings have been adjusted and configured prop, you’reou’re ready to start creating parts with your CNC machine!
Before beginning any machining operations, you should always ensure that everything has been double-checked by going over each parameter again just in case anything was missed during setup, as even small mistakes can cause significant problems if not appropriately corrected when they occur. Once the form has been completed successfully, it’s time to start programming commands into the controller, allowing you to create whatever parts you need for your project with precision and accuracy every single time!
In conclusion, choosing the right software for running a CNC machine is essential to successful projects involving this technology. It will determine how well and efficiently they perform, so take care when making this decision! Hopefully, this blog post has offered insight into running CNC machines, so you can start confidently building whatever parts you need!
Create a CAD model of your project.
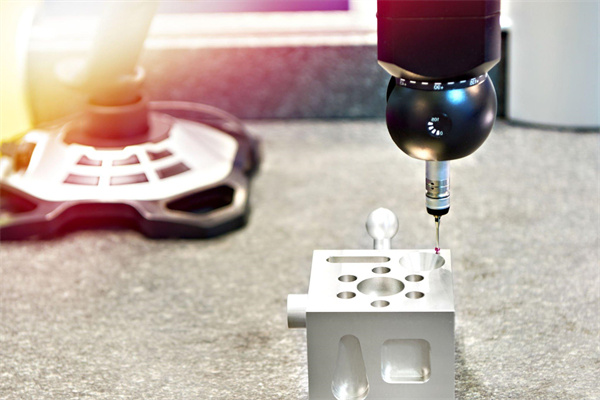
Creating a CAD model of your project is an essential step in the CNC machining process. It allows you to visualize the design and ensure all components fit together correctly before cutting any materials. In addition, having a 3D model of the piece will allow you to test the fitment of parts and ensure everything fits together accurately.
The first step in creating a CAD model is designing the part, which can be done in various software packages, including CAD/CAM programs like Autodesk Fusion 360 or Solidworks. It would be best if you considered using a 3D modelings program like Blender for organic shapes or complex geometry. Once your design is complete, you should export it as an STL file which will be used for machining.
Once the STL file has been exported, it’s time to create the actual machining toolpaths for the part. This can be done either manually or with automated CAM software like Mastercam or Fusion 360’s CAM module. If you’re new to CNC machining, it’s best to use automated CAM software, as it makes programming more accessible and faster while also producing reliable results. The G-code created by CAM software can then be uploaded into the CNC machine controller, where it will direct the machine on how to cut out your part.
Creating a precise CAD model is essential for accurate CNC machining results; even minor discrepancies between what was designed in CAD and what gets cut in real life can cause significant issues with the fitment and function of parts. That’s why some manufacturundergoough rigorous testing procedures when they create their product models, such as simulating different manufacturing conditions, using unique material properties, and so on – justensuresure everything fits perfectly once they start production runs!
It’s important to note that certain kinds of materials may require different settings, such as increased feed rates or deeper cuts. When creating your CAD model or during programming, these parameters must be considered so that all specs are met during production runs. It might also be worth considering outsourcing some or all of your machining needs if you don’t have access to a CNC machine yourself – this way, you won’t have any surprises when starting mass production runs.
Overall, creating a precise CAD model is an essential step before starting any production run with CNC machined parts – whether at home on a hobbyist machine or outsourced from another company – since inaccurate models could lead to significant problems down the line both financially and logistically speaking! Ensure that all details are accounted for during the design and programming stages to get perfect results every time!
Export your CAD file to a CAM program.
When running a CNC machine, it’s important to remember that the process starts with exporting your CAD file to a CAM program. A CAM (Computer-Aided Manufacturing) program allows you to take an existing 3D model and generate instructions for a CNC machine tool. The CNC machine can then use these instructions to create parts from various materials, including wood, metal, plastic, and more.
The first step in exporting your CAD file is to open the file in your CAD program. Depending on which one you’re using, this could involve opening the application or simply selecting the model from a library or folder. Once the file is open, you’ll need to save it as a specific type of file so that the CAM program can read it. Popular formats include STL and DXF files and IGES/STEP files for more complex projects.
Once you’ve saved your file in the correct format, you can begin setting up your job in the CAM software. This involves setting up the machine, defining its size and capabilities, and choosing tools such as end mills or drills for cutting materials. The CAM software will also allow you to define parameters such as feed rate and spindle speed, essential for accurately cutting parts on a CNC machine tool.
Finally, once these settings have been selected and configured, you can generate machining instructions for your CNC machine tool by pressing “go” in the CAM software. This will result in G-code being generated – essentially an instruction set that tells the CNC what movements it needs to make during each step of machining operations. You’ll then be able to transfer this G-code onto the CNC controller via a USB drive or Ethernet cable to run on whatever material has been loaded into it.
Overall, exporting your CAD file is just one part of running a successful CNC machine project – but its importance should not be underestimated! Ensuring that you ship in an appropriate format and correctly set up all machining parameters are essential steps towards achieving great results on any job – no matter how complex or simple it may seem at first glance!
Machine your part using a CNC router or mill
Creating custom parts using CNC machinery can be a great way to produce one-off pieces or high-volume production runs with precision and accuracy. This blog post will discuss the basics of running a CNC router or mill, what features and tools are needed, and how to operate the machine for successful results.
CNC stands for computer numerical control and is used to automate manufacturing processes. Machines such as routers and mills use computer-controlled motors and cutting tools to cut, shape, drill, or engrave materials accurately. This makes them ideal for producing complex 3D shapes from hard materials like metals and plastics.
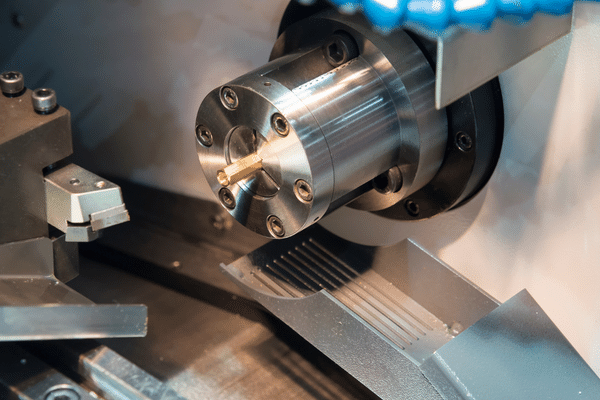
Before operating a CNC machine, it’s essential to understand the different types available and their capabilities. CNC routers are typically used for woodworking tasks such as cutting out furniture components or intricate carvings. At the same time, mills are generally better suited for larger, heavier materials like metals and plastics. Depending on the work typing, additional requirements, such as vacuum tables or coolant systems, may exist.
Once you have selected a CNC machine that meets your needs, you need to ensure that all the necessary components are in place before beginning operation. This includes appropriately setting up the cutting tool (or ‘end mill’) by mounting it securely in the spindle motor head; ensuring that all safety gear is in place; setting up any cooling systems appropriately; programming the controller with your CAD/CAM software; checking that all connections between the computer and machine are working correctly; and making sure that your material is adequately secured on the work table.
When everything is ready, you can begin your CNC machining project by loading your CAD/CAM program into the controller. The software will generate code based on your design specifications. It will be sent via USB cable to control and power the machine’s motors as they move along their axes during operation. The speed at which these movements occur can be adjusted based on how long you want it to take to complete each step of your process; however, it’s important not to move too quickly to avoid damaging either your material or tooling equipment.
Once operations start on the machine itself, it will require constant supervision from an operator who should regularly check that everything is going according to plan by monitoring any error messages on the screen during machining operations (which can indicate problems such as incorrect tool positioning). The operator should also periodically check for debris build-up around moving components and clean them if necessary; use appropriate lubricants (if required); replace worn-down cutting tools when necessary; monitor temperatures around parts; clear chips away from cutting edges when finished machining a section; and look out for excessive vibration which could indicate an issue with one of the motors or bearings in need of repair.
By following these simple steps when running a CNC router or mill – selecting an appropriate model based on job requirements; properly preparing all components before operation; programming CAD/CAM software into the controller correctly; monitoring progress regularly during machining operations – anyone should be able to make perfect parts time after time without fail!
Finish and assemble your project.
Completing and assembling a project can be one of the most rewarding processes after investing time, energy, and resources. The process is especially complex yet rewarding for those working with CNC machines. To help ensure that your project is completed correctly and efficiently, we’ll explore how to run a CNC machine in this blog post.
First and foremost, you must understand the basics of running a CNC machine. This includes familiarizing yourself with the materials used, tooling information, cutting parameters, and other specifics related to your job. Additionally, you should be aware of any safety precautions that must be taken when operating a CNC machine, such as wearing protective clothing or ensuring that all areas are clear of potential hazards before starting your project.
Once you have mastered running a CNC machine, you can begin programming it for your project requirements. The easiest way to program a CNC machine is by using a computer interface called G-Code which allows users to input commands for the machine in a precise format. To get started with G-Code programming, you will need an understanding of basic programming concepts such as variables and loops, which can be learned through online tutorials or courses or by attending workshops at local trade schools or maker spaces.
Next comes loading the material onto the bed of the CNC machine, which consists of placing material supports before attaching them securely with clamps or screws, depending on what type of support system your specific machine uses. The material should be aligned to be centered and level before clamping it down securely so it doesn’t move during cutting operations. After completing this steeped, it’s time to enter the actual cut paths and other details into G-Code programming software, which will then control how the cutting operations will proceed on your material once the program is sent to the CNC machine for execution.
Finally, after all the setup has been completed comes running your programs on a CNC machine which requires monitoring from start to finish to prevent any accidents, such as over-cutting or collisions between tooling components due to incorrect inputs made into G-Code programming software beforehand. During operation, keeping an eye out for potential problems ensures that projects are finished quickly without compromising accuracy or precision levels while preventing damage to people involved or nearby equipment during operation.
In conclusion, mastering how to run a CNC machine takes practice. Still, it pays off with better results in accuracy and precision while also saving time on projects due to increased efficiency levels achieved by those who know how to properly operate these machines safely and accurately every single time they use them.


